Start with the right appointment
Separate consultations, treatments and follow-up appointments so clients do not have to guess which visit they need.
A first consultation, a scheduled treatment and a follow-up visit are different appointments. Give each one a clear place in your clinic’s diary, with the right practitioner and enough time reserved for the visit.

Separate consultations, treatments and follow-up appointments so clients do not have to guess which visit they need.
Use service descriptions to explain the purpose of the appointment and when the client should speak to your team before booking.
Give reception one calendar to consult when arranging appointments with the appropriate team member.
Separate consultations from treatments in your service menu. Explain who each appointment is intended for and what is included, so a new client can find a consultation while an existing client can identify their agreed follow-up.
View feature: Make the first booking easy to understandPricing and duration
A new client can choose a consultation before committing to a treatment. Name follow-up appointments separately and explain which visits are available for online booking.
The client chooses an eligible provider and available slot. Your team handles suitability, consent and any required clinical review through the clinic’s own processes.
The client reviews the selected service or space, date, time and price, then provides their contact details. Clear descriptions help them arrive knowing what they have booked and which location to visit.
When online payments are enabled, collect the deposit or full amount required by your booking settings. Your team can also handle payment from the calendar, including a payment link for a client who is arranging the visit with you.
Review consultations, treatment visits and follow-ups with their assigned providers. Clear service names help reception answer practical questions about time and location.
Use previous bookings for administrative continuity, while keeping clinical records and treatment decisions in the systems and procedures your clinic requires.
Illustrative example
Example booking day
| Time | Booking |
|---|---|
| 09:00 | Initial consultation |
| 11:00 | Treatment appointment |
| 14:00 | Follow-up visit |
Set distinct durations and prices for consultations, treatments and follow-ups. Your booking menu can reflect the stages of a client’s visit without presenting every service as the same appointment.
View feature: Give consultations their own appointment typeKeep each practitioner’s offered services and branch assignments organised. Clients can choose a team member who provides the appointment they want to book.
View feature: Assign services to the appropriate practitionerView upcoming appointments by practitioner or branch. Reception can check the type and length of each visit and update bookings when arrangements change.
View feature: Keep reception focused on the next arrivalBring payment into the same workflow as the booking. Choose how you collect money for your services or space hire, and explain the payment arrangements before the client commits.
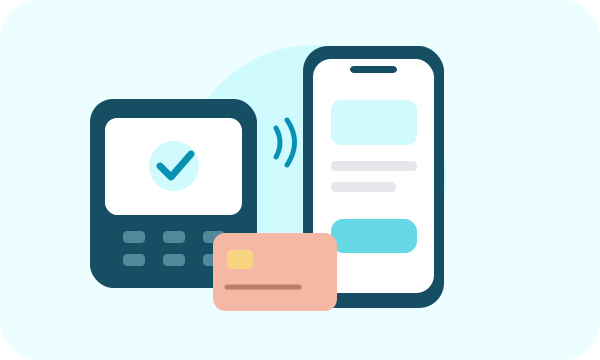
Let clients pay a deposit or the full booking amount through your online booking portal. State what the payment covers so clients understand the amount they are paying before their visit.
Use a supported Stripe Terminal smart reader to collect an in-person card payment for a booking. Reader availability depends on your country and Stripe setup; see the device guide before buying hardware.
Show a payment QR code for the client to scan, or send the payment link by SMS or email. The client opens checkout on their own device, making it useful both at reception and when arranging payment before arrival.
Start with the bookings you handle most often. A clear menu and realistic availability help clients make the right choice and give your team a consistent place to manage requests.
Review the client-facing names, descriptions, location, available times and payment settings. Share the booking link from your website and customer communications, and keep the details up to date as your offering changes.
Yes. Create a consultation service and describe it clearly in your menu. Clients choose that appointment when booking; your team decides the appropriate treatment plan separately.
You can manage practitioners and their branch assignments from one account. Set up the clinic locations and services, then review the relevant branch when organising appointments.
Yes. Create a consultation service with its own duration and description. Explain in other service descriptions when clients should contact the clinic or book a consultation first.
This page describes appointment scheduling, client booking history and payment workflows. It does not promise clinical recordkeeping, medical assessment or regulatory compliance functionality.
Yes. Share your WebbyBooky booking portal link from your existing website so clients can choose a service, provider and available time. Keep your business information on your website and use the portal for the booking journey.
With payments configured, you can collect a deposit or full payment online and take booking payments through the calendar. In-person options include supported Stripe Terminal readers and a QR payment page; links can also be sent by SMS or email. Available options depend on your payment setup.
Build your service or space menu, set your availability, and give clients a clear way to book. Start with your everyday workflow and expand as your business grows.