Separate new sets from infills
Help returning clients choose an infill only when it matches your studio’s criteria, with clear guidance in the service description.
A returning client booking an infill needs a different appointment from someone visiting for a full set. Make the distinction clear on your booking page and organise your lash and brow artists around the services they provide.

Help returning clients choose an infill only when it matches your studio’s criteria, with clear guidance in the service description.
A brow tidy and a full lash set require different slots. Set the duration for each service instead of offering one generic beauty appointment.
Let clients choose an artist for the selected service and book while you are occupied with another treatment.
Group lash extensions, infills and brow services into a menu clients can understand. Use descriptions to explain your infill criteria and what each treatment includes, then set the duration and price for each choice.
View feature: Separate full sets, maintenance and brow appointmentsPricing and duration
A client opens the menu and chooses a new lash set, an infill or a brow service. Include your eligibility guidance in the description, such as when an existing set needs a discussion before you can confirm the right service.
Clients select a suitable artist and a slot that fits the service duration. Keep any preparation or consultation instructions clear, and arrange changes directly if the client has chosen an unsuitable option.
The client reviews the selected service or space, date, time and price, then provides their contact details. Clear descriptions help them arrive knowing what they have booked and which location to visit.
When online payments are enabled, collect the deposit or full amount required by your booking settings. Your team can also handle payment from the calendar, including a payment link for a client who is arranging the visit with you.
Review full sets and shorter return visits together, with the service name visible against the booking. This helps your team prepare the diary around the time actually reserved.
Use previous booking history as a starting point when a client asks for another appointment. Confirm the service they need now, then share the booking or payment link that matches the agreed visit.
Illustrative example
Example booking day
| Time | Booking |
|---|---|
| 09:00 | Classic full set |
| 11:00 | Lash infill |
| 14:00 | Brow shaping |
Set separate appointment lengths for a full set, an infill and a brow shape. Clear service names help returning clients choose maintenance appointments without taking a full-set slot.
View feature: Make the difference between visits visibleAssign lash and brow services to the team members who provide them. An artist offering extensions can have a different service list from someone specialising in brow treatments.
View feature: Match clients with their lash or brow artistShare your booking page through your website or social profiles. Clients can read your menu, choose an artist and select an available time while you focus on the appointment in front of you.
View feature: Take bookings while you are with a clientBring payment into the same workflow as the booking. Choose how you collect money for your services or space hire, and explain the payment arrangements before the client commits.
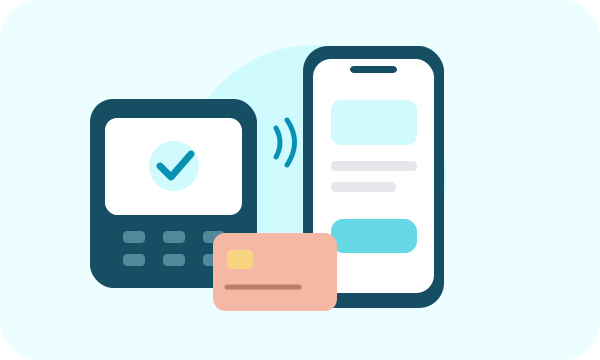
Let clients pay a deposit or the full booking amount through your online booking portal. State what the payment covers so clients understand the amount they are paying before their visit.
Use a supported Stripe Terminal smart reader to collect an in-person card payment for a booking. Reader availability depends on your country and Stripe setup; see the device guide before buying hardware.
Show a payment QR code for the client to scan, or send the payment link by SMS or email. The client opens checkout on their own device, making it useful both at reception and when arranging payment before arrival.
Start with the bookings you handle most often. A clear menu and realistic availability help clients make the right choice and give your team a consistent place to manage requests.
Review the client-facing names, descriptions, location, available times and payment settings. Share the booking link from your website and customer communications, and keep the details up to date as your offering changes.
Yes. Use service names and descriptions to explain your booking criteria. Create different service options where you need different durations or prices; clients select the appropriate option.
Yes. Add both types of service and assign them to the appropriate team members. Clients choose from your menu and book with someone who offers the selected treatment.
Your business decides the service criteria. Explain them in the booking description and ask clients to contact you if they are unsure. The booking system schedules the selected service; it does not assess treatment suitability.
Yes. Create your own menu and availability and share your booking page with clients. The same service and team structure can support additional artists if you later expand.
Yes. Share your WebbyBooky booking portal link from your existing website so clients can choose a service, provider and available time. Keep your business information on your website and use the portal for the booking journey.
With payments configured, you can collect a deposit or full payment online and take booking payments through the calendar. In-person options include supported Stripe Terminal readers and a QR payment page; links can also be sent by SMS or email. Available options depend on your payment setup.
Build your service or space menu, set your availability, and give clients a clear way to book. Start with your everyday workflow and expand as your business grows.