How to add a booking link to your existing website
WebbyBooky · Updated 9 October 2026
Your website explains why someone should choose your business. Your booking page helps them choose an available visit. Connect the two with a clear link so you can keep your existing website, branding and content while giving customers a direct next step.
Your website · example
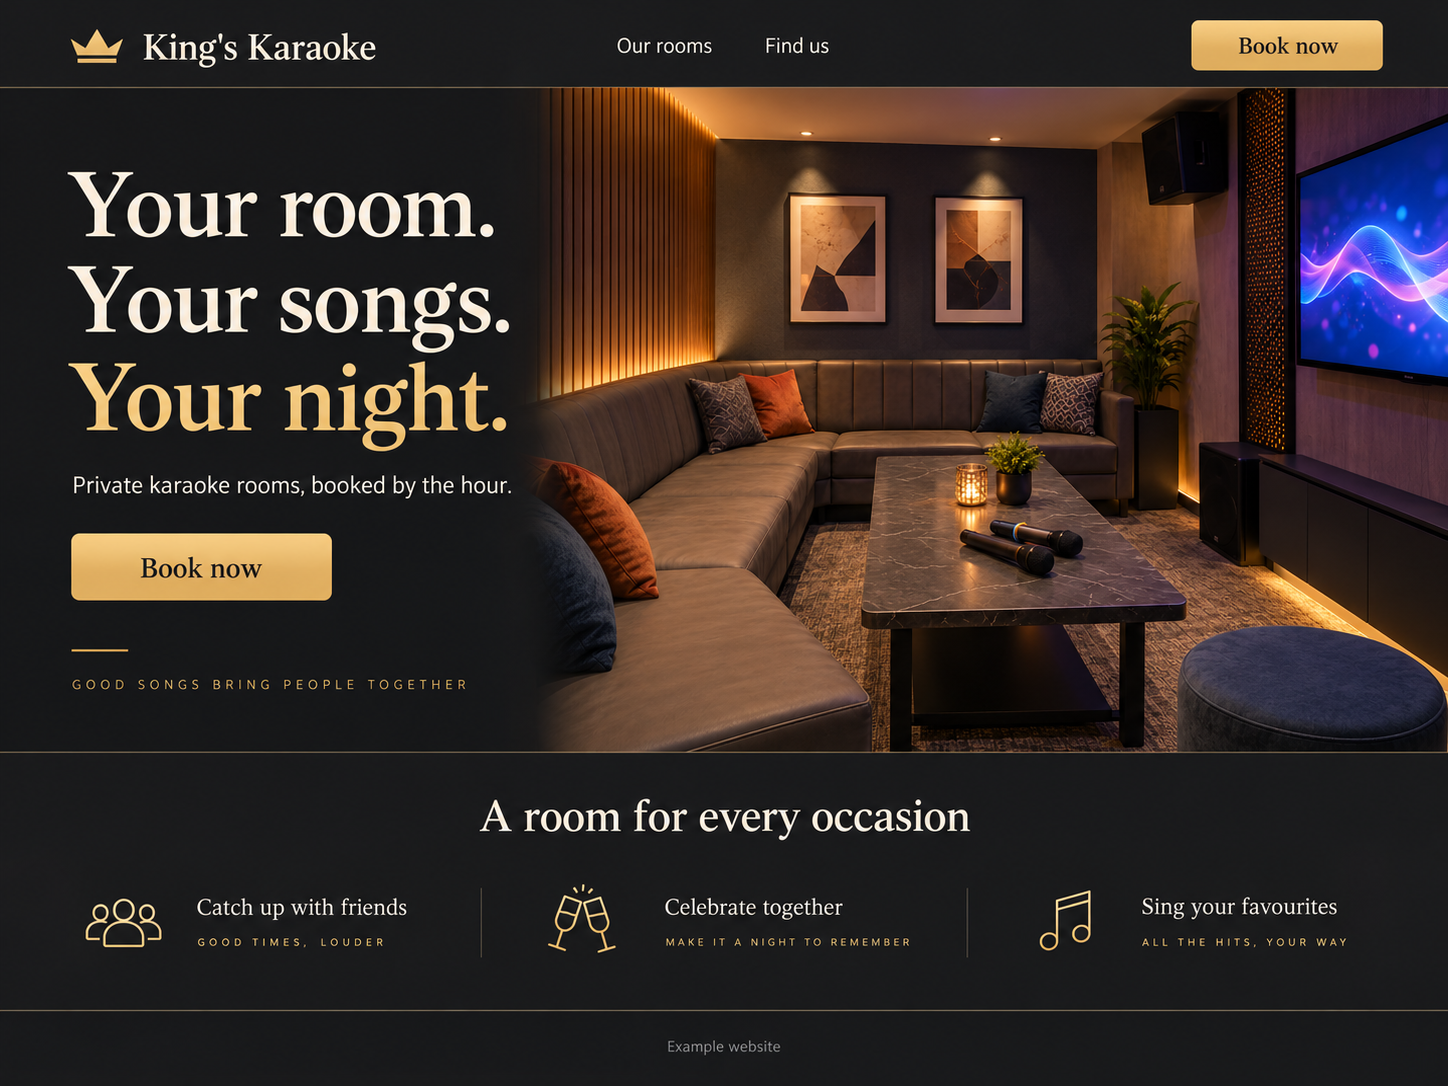
Your WebbyBooky booking page
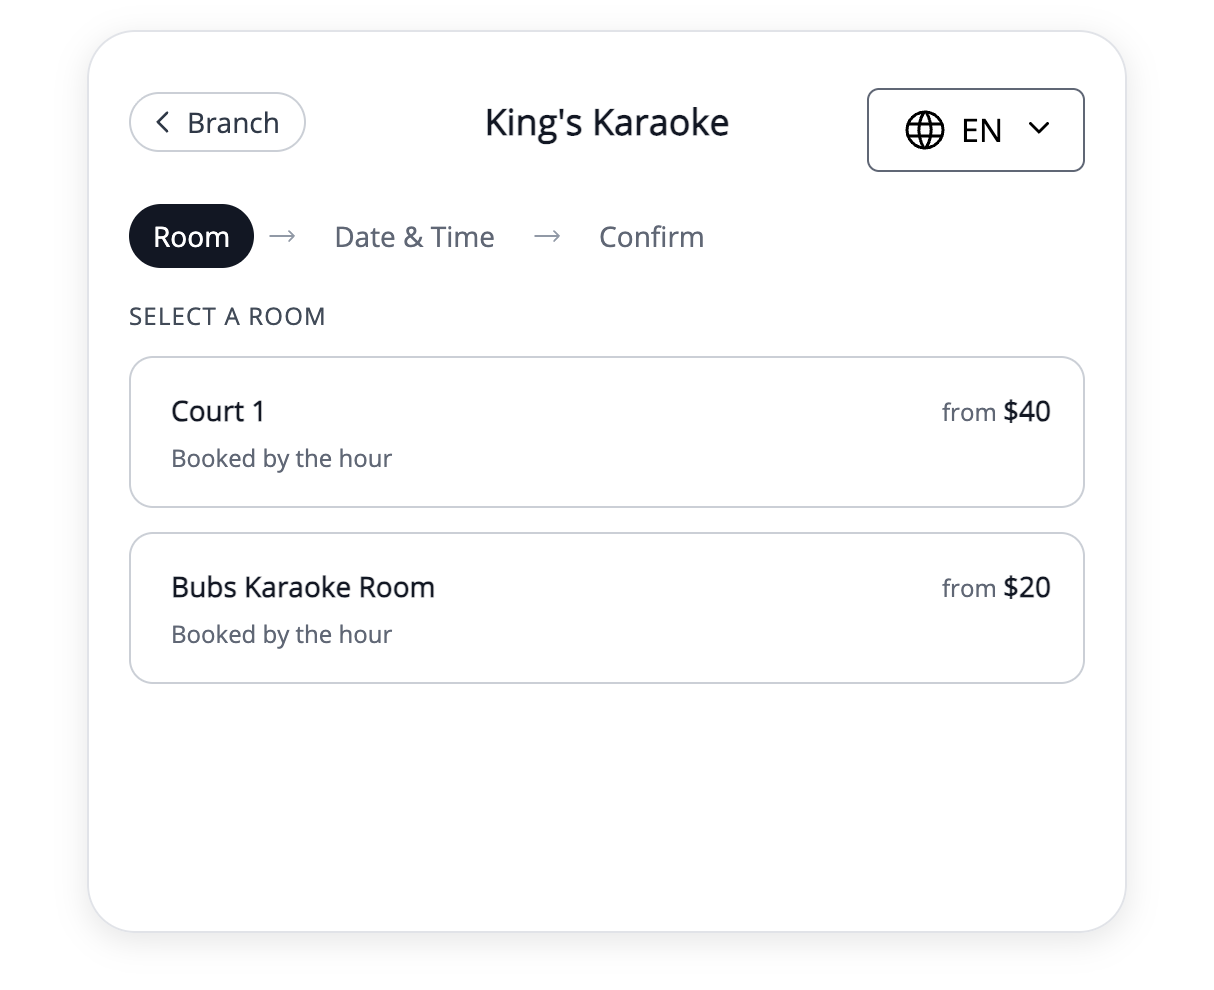
1. Prepare the destination first
Make sure the booking portal contains the services or rooms you want customers to reserve. Confirm the branch details, service descriptions and payment arrangements. Sending people to an incomplete menu creates questions that a button alone cannot answer.
2. Use the client booking URL
Use your business booking link rather than a management, login or staff-only URL. This guide describes a normal link to the hosted booking portal, so it does not depend on a particular website builder or an embedded widget.
3. Put the link where the decision happens
Add a clearly labelled booking link near the service explanation and in your main navigation. Use wording such as “Book an appointment” or “Reserve a room” so the destination is obvious. Avoid several competing buttons that send customers to different booking routes without explaining the difference.
4. Keep the handover consistent
Use matching service names, location information and payment explanations on your site and booking page. When the offer changes, update both places. Provide a contact route for customers who need advice before choosing an appointment or hire period.
Worked example
Connect a studio website to room booking
A photography studio keeps its portfolio and room descriptions on its current website. A “Reserve a studio” link takes the visitor to the booking page, where they choose the available room and duration. The website should explain whether lighting or a photographer is included before the visitor reserves.
Illustrative setup, not a live booking or customer result. Adapt the names, times and prices to your business.
Before you share your booking page
- Share the client booking URL, not an admin link.
- Check descriptions, providers and branch information.
- Explain the amount due and what it covers.
- Give customers a contact option for unusual requests.